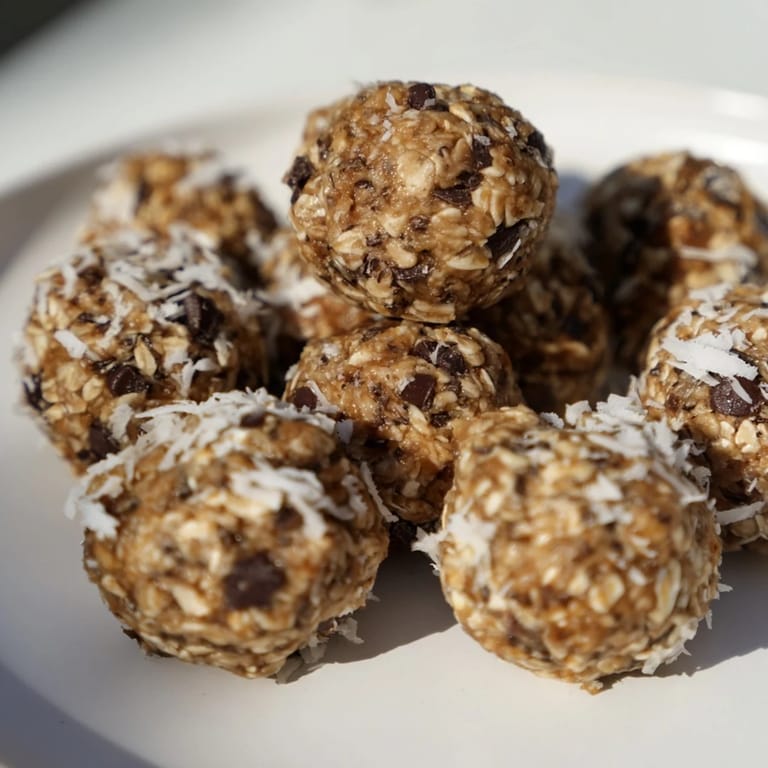
 Pin it
 My kids came home from school asking why their friends had fancy store-bought snack bars while they got fruit, so I decided to prove that homemade could be better. Fifteen minutes later, rolling dough into little balls at the kitchen counter, I realized I'd created something they'd actually fight over. These almond-chia energy bites became the snack that solved the lunchbox wars, and honestly, I've been making them ever since because they taste like you spent way more effort than you actually did.
I brought a batch to my friend's book club last month, expecting them to sit untouched while we debated the latest thriller. Instead, people kept reaching for them between sentences, and by the end of the night, the container was empty and three people asked for the recipe. That's when I knew this wasn't just a snack—it was something that made people pause and enjoy a real moment together.
Ingredients
- Rolled oats: The foundation that gives these bites their satisfying chew and staying power; regular or gluten-free work equally well, though certified gluten-free oats taste slightly cleaner to me.
- Chia seeds: These tiny powerhouses add a subtle nuttiness and thicken everything up without any weird texture tricks.
- Shredded coconut: Optional, but it adds a whisper of tropical sweetness and helps bind everything together like edible glue.
- Almond butter: The heart of the recipe; make sure it's creamy, not the natural oil-on-top kind that makes things too wet.
- Honey or maple syrup: The glue that holds everything together while adding just enough sweetness that these taste like treats, not health food.
- Vanilla extract: A half teaspoon is all you need to round out the flavors and make people wonder what your secret is.
- Mini dark chocolate chips: Optional but absolutely worth it; they add little bursts of richness that keep you reaching back for more.
- Sea salt: A tiny pinch that makes the chocolate pop and prevents everything from tasting one-note sweet.
Tired of Takeout? 🥡
Get 10 meals you can make faster than delivery arrives. Seriously.
One email. No spam. Unsubscribe anytime.
Instructions
- Combine your dry base:
- In a large bowl, mix the oats, chia seeds, and coconut together first so everything is evenly distributed before you add the wet ingredients. This prevents pockets of stuff clumping together later.
- Create the sticky foundation:
- Add the almond butter, honey, and vanilla all at once, then stir with a sturdy spoon or your hand until the mixture looks like wet sand and holds together when squeezed. It should feel sticky but not slippery.
- Fold in the fun stuff:
- Gently fold in the chocolate chips and salt, being careful not to crush them or overmix, which can make everything dense and heavy.
- Roll and shape:
- Wet your hands with a little water so the mixture doesn't stick, then roll walnut-sized pieces between your palms into tight little balls. A cookie scoop makes this less messy if you have one.
- Chill until set:
- Arrange the bites on a parchment-lined tray and refrigerate for at least 30 minutes so they firm up and hold their shape perfectly.
- Store for the week:
- Transfer to an airtight container and keep in the fridge for up to a week, though they rarely last that long in my house.
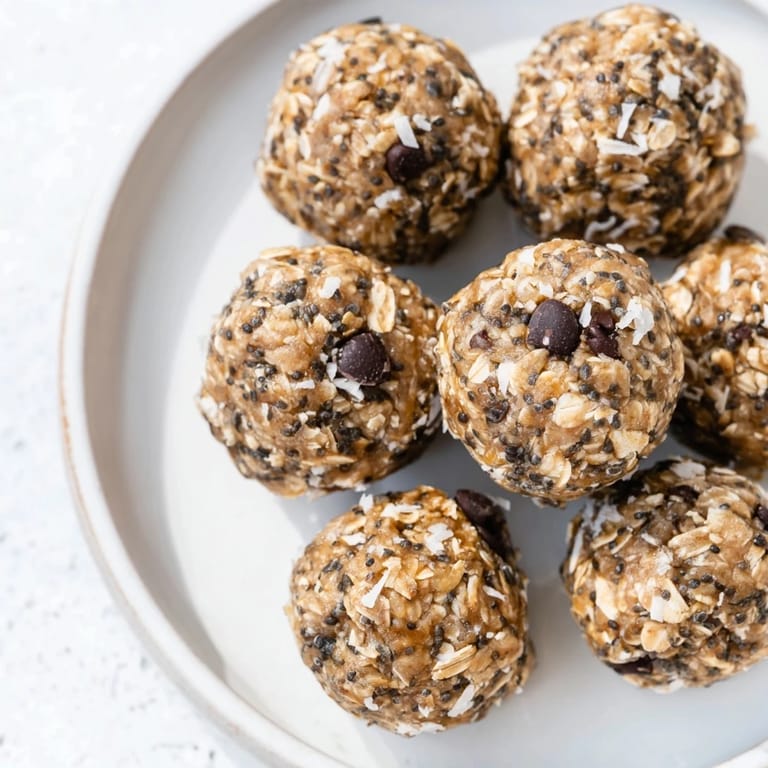 Pin it
 The best part about making these is watching someone's face when they realize these aren't some processed thing from a box. That moment when they ask if you really made them yourself is when cooking stops being a chore and becomes pure joy.
Why These Aren't Like Store-Bought Bars
Store-bought energy bars often hide behind ingredient lists longer than a novel, but these are just real food you actually recognize. You can taste the difference immediately—there's no weird aftertaste, no mystery gumminess, just honest flavors working together. Plus, you control the sweetness level, so you're not guessing what some manufacturer decided was acceptable.
Making Them Your Own
Once you've made the basic batch, the fun begins. Swap the almond butter for peanut or cashew butter depending on what's in your pantry, bump up the chocolate chips if you're feeling indulgent, or sneak in a tablespoon of flaxseed meal for extra nutrition without anyone noticing. The beauty of this recipe is that it's flexible enough to bend to whatever you're craving that week, whether that's coconutty, chocolatey, or extra nutty.
When to Make These
These thrive as a Sunday prep-day project because once they're chilled, you have snacks ready for the entire week without thinking twice. They're perfect for lunch boxes, post-workout moments when you want something that actually satisfies, or that 3 p.m. slump when you need a pick-me-up that doesn't involve a vending machine. They travel well too, so toss a few in a bag for road trips or hiking.
- Make a double batch and freeze extras for up to a month in a freezer bag, then grab them as needed.
- They thaw in about 20 minutes at room temperature, so plan ahead if you're packing them for later in the day.
- If they seem too hard after refrigerating, let them sit out for five minutes to soften up just slightly.
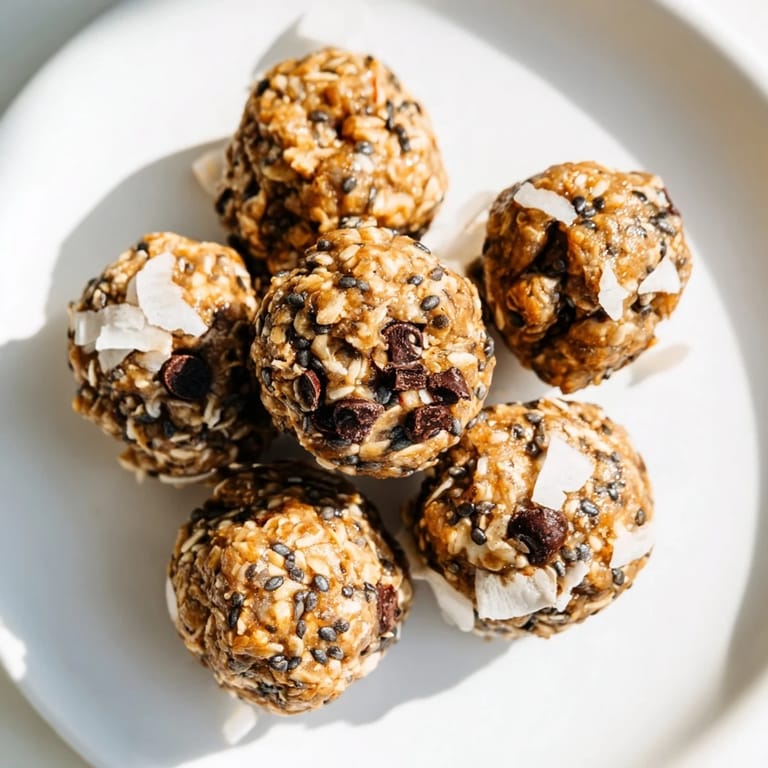 Pin it
 These little bites prove that the best snacks don't require fancy equipment or complicated steps; they just need real ingredients and a few minutes of your time. Make them once and you'll understand why they became the snack that changed my kitchen routine.
Recipe Questions & Answers
- → Can I substitute almond butter with other nut butters?
Yes, peanut or cashew butter can be used as alternatives, offering a similar texture and flavor profile.
- → Are these bites suitable for gluten-free diets?
Using certified gluten-free rolled oats makes the bites safe for gluten-free diets, reducing cross-contamination risks.
- → How should I store the energy bites?
Keep them in an airtight container in the refrigerator where they will stay fresh for up to one week.
- → What sweeteners can be used in the mixture?
Honey or maple syrup are perfect natural sweeteners; maple syrup also makes it vegan-friendly.
- → Can I add other mix-ins besides chocolate chips?
Yes, ingredients like flaxseed meal or shredded coconut can add nutrition and texture variations.