 Pin it
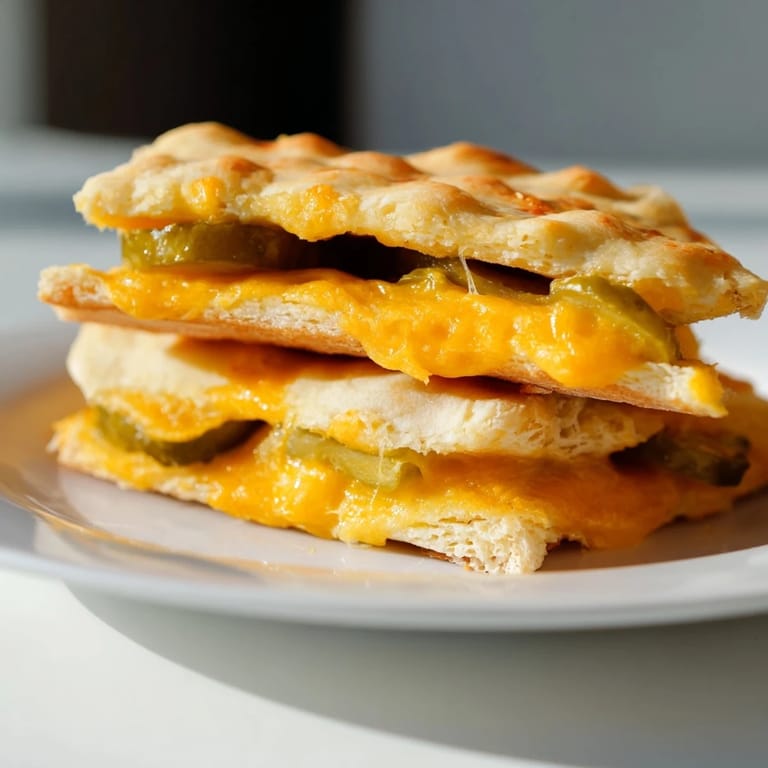
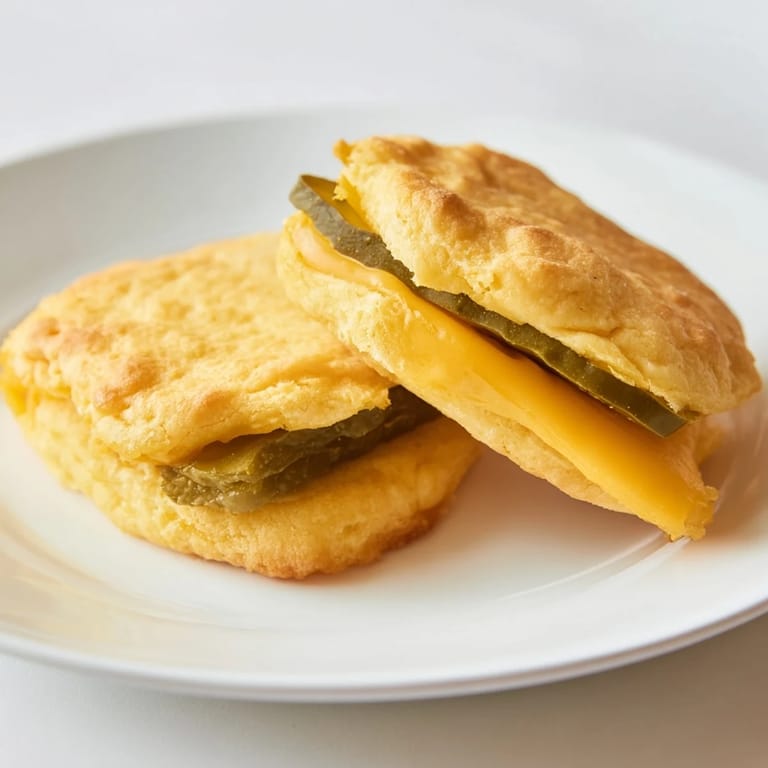
 One Tuesday afternoon, I was hunting through my fridge for lunch inspiration when I spotted a jar of dill pickles and a block of sharp cheddar. The pickle brine caught the light, and something clicked—what if I built an entire sandwich around that briny crunch? Twenty minutes later, I had crispy cheese-pickle buns crisping in the oven, and the smell alone told me I was onto something special.
I made these for my coworker who'd been talking nonstop about her new low-carb diet, and the look on her face when she bit into one said it all. She kept asking if I'd added secret spices, and I had to explain that the pickle brine soaked into the cheese was doing all the heavy lifting. Now she makes them every Sunday.
Ingredients
- Sharp cheddar cheese, 8 slices (¼ inch thick, 3–4 inches wide): The thickness matters—too thin and it won't hold the pickles, too thick and it doesn't melt evenly. I learned to slice it with a cheese wire for the cleanest cuts.
- Sandwich pickle slices, 12–14 long dill slices: Pat them completely dry with paper towels first, or the cheese won't crisp. The brine flavor is what makes this whole thing work.
- Nonstick cooking spray or parchment paper: Parchment prevents sticking better than spray, and you can reuse it.
- Mayonnaise, 2 tablespoons (optional): Adds creaminess to balance the sharp cheddar and briny pickles.
- Dijon mustard, 2 teaspoons (optional): A touch of mustard sharpness ties everything together.
- Tomato slices, 2 (optional): Use ripe tomatoes; thin slices so they don't overwhelm the buns.
- Deli turkey or ham, 4 slices (optional): Choose quality deli meat—thin slices work better in a delicate cheese bun.
Tired of Takeout? 🥡
Get 10 meals you can make faster than delivery arrives. Seriously.
One email. No spam. Unsubscribe anytime.
Instructions
- Heat your oven and prepare the stage:
- Preheat to 400°F and line a baking sheet with parchment paper. The oven needs to be this hot to get the cheese edges crispy without burning the pickles.
- Build the pickle layer:
- Arrange 4 cheddar slices on the sheet with space between each one—they'll melt outward. Lay your dried pickle slices in a single overlapping layer on top of each slice, covering most of the cheese so it holds them steady.
- Seal the sandwich:
- Top each pickle layer with another slice of cheddar, pressing gently. You're creating a cheese-pickle-cheese sandwich that will fuse together as it bakes.
- Bake until golden:
- Bake for 7–8 minutes, watching closely after minute 6. You want the cheese bubbly at the edges and golden brown, not brown-black. The kitchen will smell intensely savory and pickle-forward.
- Cool and set:
- Remove and let sit for 5 minutes. This cooling time lets the cheese firm up enough to hold the fillings without falling apart.
- Build your sandwich:
- If using optional fillings, spread mayo and mustard inside each warm cheese bun, then add tomato and deli meat. The warmth of the cheese buns will slightly wilt the tomato, which is perfect.
- Serve immediately:
- Eat while warm and crispy. The longer they sit, the softer they become, though a toaster oven can restore some crispness if needed.
 Pin it
 The first time my partner tried one of these, he said it tasted like a dill pickle chip married a grilled cheese sandwich, and now that's how I describe it to everyone. There's something about the unexpected combination that makes people smile before they even take the first bite.
Why This Works as a Low-Carb Staple
When you're cutting carbs, bread becomes the invisible loss, and it's what everyone misses first. These cheese buns give you that structural satisfaction and golden-brown crunch without any grains or sugar alcohols. The pickles add acidity and complexity so your mouth never gets bored, and the optional fillings let you customize based on what you have.
Flavor Variations Worth Trying
Sharp cheddar is my baseline, but I've swapped it for Swiss—milder, nuttier, less aggressive—and it shifts the whole flavor profile into something almost delicate. Provolone gives you a smoky undertone. I once layered hot pickles with jalapeño slices and smoked paprika dust between the cheese buns, and it became my go-to when I wanted heat without heaviness. The beauty of this sandwich is that it adapts to whatever you're craving that day.
- Try Swiss or provolone for a lighter flavor base.
- Use hot pickles or add sliced jalapeños for a spicy version.
- Add shredded lettuce for extra crunch if the cheese buns feel too rich.
Reheating and Storage Tips
These are best eaten fresh and warm, but life happens and sometimes you're eating lunch cold on a Tuesday. A toaster oven for 3–4 minutes brings back most of that crispness if you have time. If you're making these ahead for meal prep, keep the buns and fillings separate in the fridge, then assemble just before eating—the cheese buns will stay crisp in an airtight container for about two days, though they soften gradually.
 Pin it
 This sandwich turned into something I make almost every week now, and it's become the recipe I recommend first when someone asks for low-carb lunch ideas that don't feel restrictive. That's the magic of letting simple ingredients play together.
Recipe Questions & Answers
- → What type of cheese works best for the buns?
Sharp cheddar cheese slices are ideal as they melt well and develop a golden, crispy texture when baked.
- → Can I substitute the pickles with another ingredient?
Long dill pickle slices provide a tangy crunch, but for variation, you can try spicy pickles or jalapeños for added heat.
- → How do I prevent cheese from sticking to the baking sheet?
Use parchment paper or lightly spray the baking sheet with a nonstick spray before arranging the cheese slices.
- → Is it possible to add extra fillings?
Optional additions like mayonnaise, mustard, tomato slices, or deli meats can be layered inside for extra flavor and texture.
- → What makes these buns low carb and gluten-free?
Instead of traditional bread, the buns are made entirely from baked cheddar cheese, naturally free of gluten and low in carbohydrates.